Graph Builder 2
Overview
GraphBuilder2 is an application designed to help people understand HL7 FHIR, in particular the way that individual resource instances are connected together by references between them to represent a specific scenario. By default it creates resource instances based on the core FHIR R4 standard, but can also support a number of Implementation Guides, with profiled resource types (IG support is a work in progress).
FHIR knowledge required
The amount you need to know about FHIR depends on just what you want to do (and a goal of the app is to help you increase that knowledge).
- If you simply want to connect resources together to repreent some scenario, then you really don't need to know much at all, beyond what a resource is, and that they are connected by references. The app will guide through the rest.
-
If you want to create real resource instances and save them to a FHIR server, then you need to know a bit more. In particular:
- The resource instances have elements of a given datatype.
- Each resource type has a set of defined elements (see Patient as an example), and the ability to add others using extensions.
- This app uses FHIR Shorthand (FSH) to define the contents of the resources. There are helper functions in the app, but at some point you'll likely need to edit the FSH directly. There's more information here
Application structure
The overall structure consists of any number of projects, each of which contains any number of resource instances and the references between them. The project also contains any number of views, each of which contains a subset of the resource instances in the project. The idea is to allow a view to present a particular aspect of the project - for example:
- Showing how the graph evolves over time - eg a Medication list with medications being added and changed
- Parts of a large project - eg the lab results in a graph representing a hospital stay.
Some differences to the original Graph Builder (also called a Scenario Builder)
- No need to select servers as the conformance resources have been parsed previously. The only external server required is the Terminology server - currently Ontoserver R4
- Projects are stored locally in the browser cache. There is a Library that enables sharing
- Uses FSH to enter structured data.
- In the graphs, the position of a resource is fixed after it has been moved. This allows a graph to be auto arranged initially, then arranged into a specific position which will be remembered.
- Implementation guides and profiled resources supported (This is a work in progress).
Possible usages envisaged:
- Training
- Design for the content of FHIR interfaces (not the actual API)
- Create examples. (As the primary representation is FSH, ‘templated’ examples are possible where a graph is created, and details replaced. Needs work to support this
User Interface
This section describes the User Interface. There is also a quick start section that walks you through example scenarios and a page describing how to perfrom common tasks.
Loading the app
Load the app at the url: http://gb2.clinfhir.com/
The app will load, and display the list of projects that have been created in the browser (if any). This page is called the Project Selector
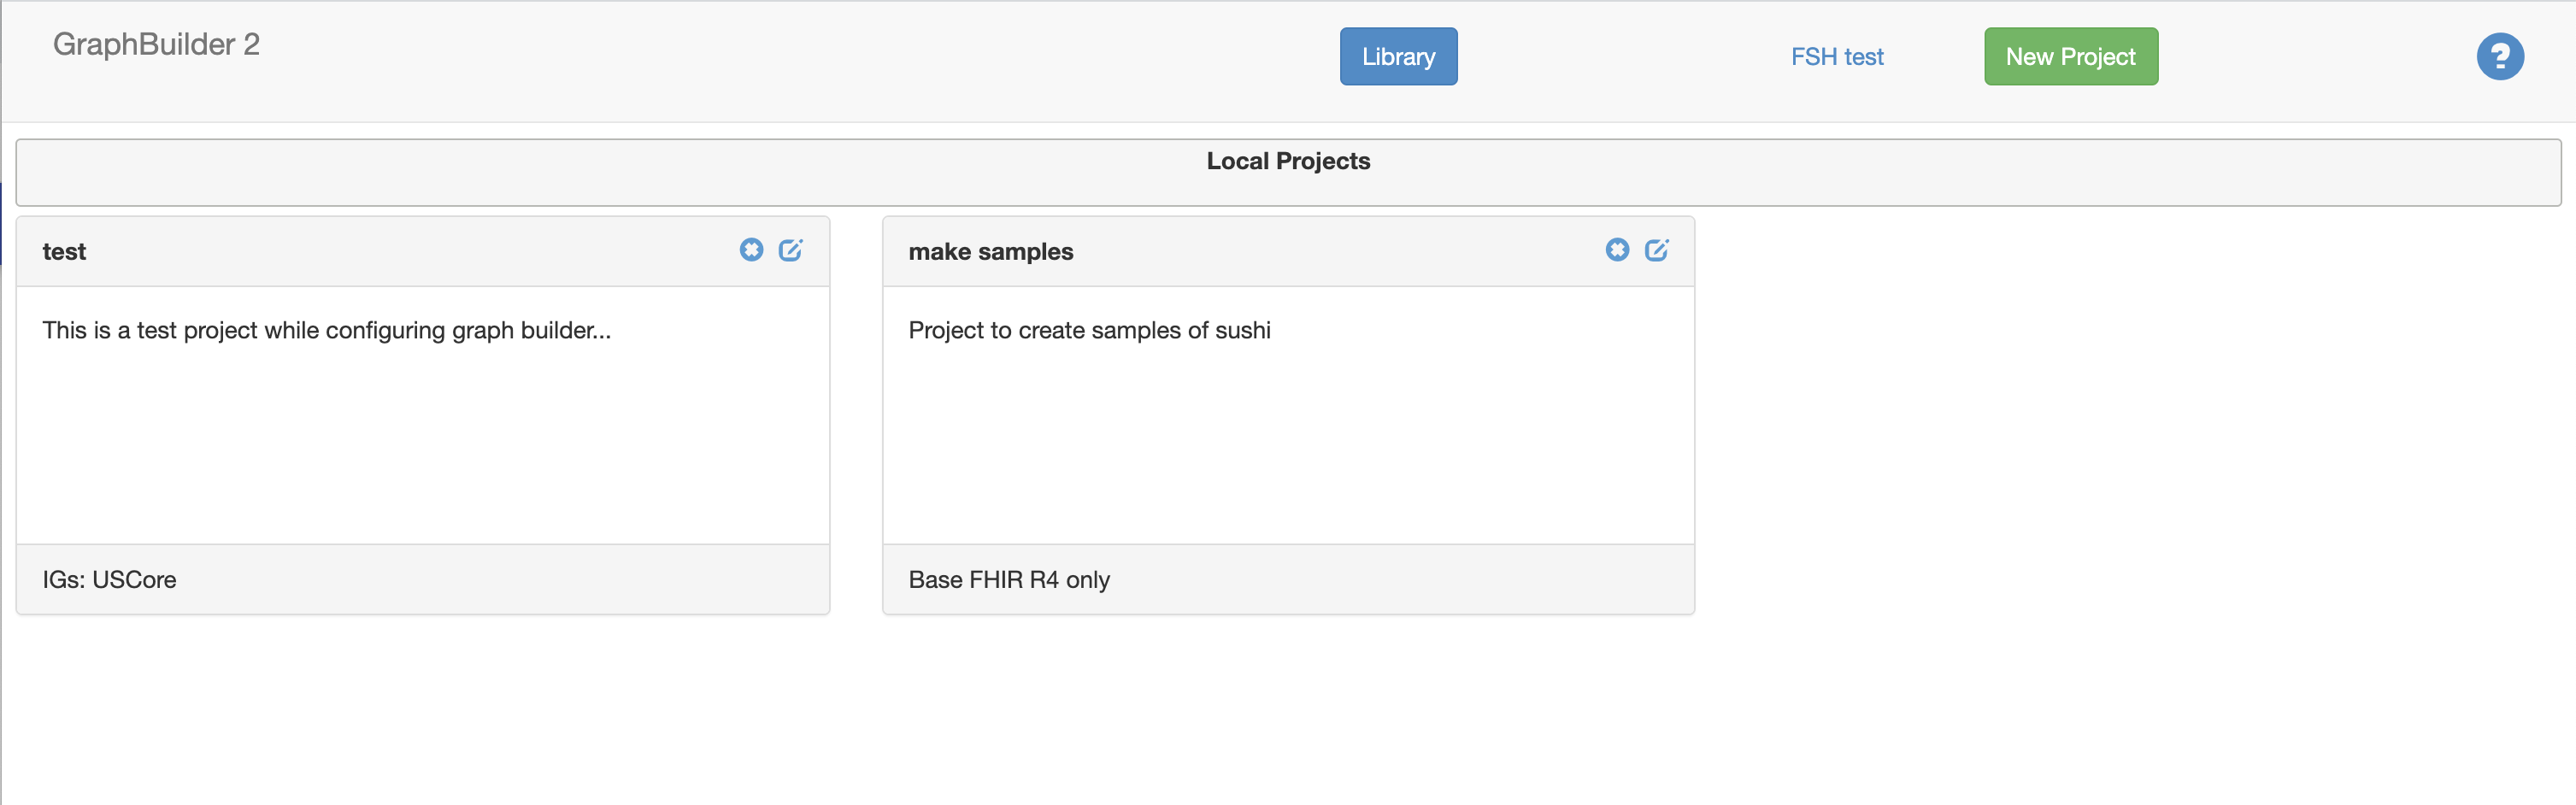
Select or create a Project
To select a project, simply click on the box in the Project Selector, and it will be loaded from the browser cache and displayed for editing.
To create a new project, click the green New Project button in the navbar. A dialog is displayed into which you enter the title of the project and a description. You can also select one or more Implementation Guides to support in the project - IG support is described here.
Views
As described above, a project has one or more views. Here is an example:
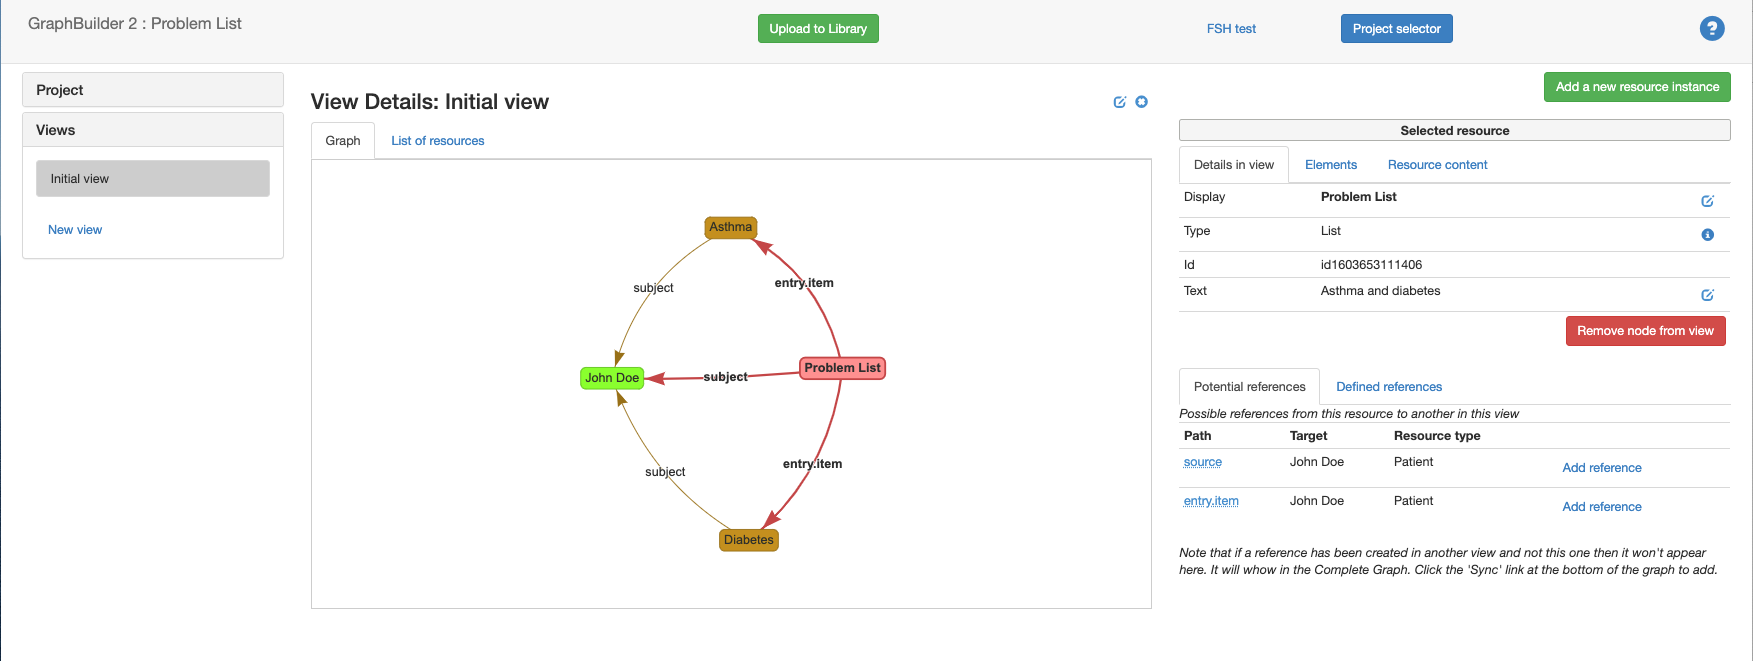
- To the left is the list of views against the graph. Clicking one of them will select and display the view. The view can be re-sorted using the up and down arrows.
- The middle pane shows the graphical representation of the view in a tab view. There’s also a tab with a list of the resources
- To the right is a detail pane that shows details of the currently listed item. This can either be a resource or a reference (the lines between the resources).
When a resource is selected the details pane shows:
- The display of the resource in the graph
- The textual description of the resource
- An edit link to change the display & text
- The resource type and id.
- Possible references to resources in the view. Clicking on the link will add them to the view. When that happens, the app will check the underlying complete graph to see if there are also references to view resources that have been defined elsewhere. If there are, then a ‘sync’ link will appear to the bottom right of the graph. Clicking that will add the references. This is deliberate behaviour to allow some views to show the references and others not (Question: is this useful, or should it be automatic?)
- A button that allows the resource to be removed from the view
When a reference is selected, the details pane shows: * The source and target resources * A description of the reference * A button to remove the reference
The resources in the graph can be dragged into any position. The app will remember the positions of the resources (a major improvement over previous apps!)
As changes to the project are made (resources added, references created, views added etc) the project is automatically updated in the users local browser (as Scenario Builder was) - ie there is no need to save the project - this is automatic (at least locally - use the upload option to save on the server)
When a project is selected, the navbar are a couple of extra buttons.
- the Project Selector re-displays the list of projects
- the Upload to Library button saves the project in the shared library.